Test environment
- Base URL
- https://staging.example.com
- Environment key
staging- Description
The release candidate for workspace setup, invitations, and project workflows.
From the first acceptance criterion to the final release check.
Keep the cases, the coverage, and the evidence in one connected workspace.
The test. The result. The work to make it right. All close together.
Give the team a shared home for test cases. Organize by module, find the right coverage, and carry the same cases into the next plan and run.
The details that make a release dependable.
Group cases into modules such as workspace setup, project workflow, or documents. Keep the full project library within reach when you need the wider view.
Search case titles and keys. Filter by module, tag, or status, and use the sprint or epic linked through Planner issues to find relevant coverage.
Keep the case identity, priority, tags, and execution estimate visible in the list. Open a case for its full procedure, or start a run from the current scope.
Create cases, duplicate a useful starting point, and deprecate checks that no longer belong in the active set. Retain context while the product evolves.
Link a case to the issues it covers. The issue keeps its linked tests visible, and the case keeps the requirement close to its expected result.
Search and filtering work across the repository, with more cases loaded as you browse. A larger library does not have to become a longer planning meeting.
A good case tells the next tester what to do, what to expect, and what must already be true. Keep the procedure readable and the details close at hand.
What are we testing, and why does it matter?
🎯 A new owner should be able to create a workspace and reach a useful starting point. Verify that the workspace name is saved and the owner can start inviting their team.
The setup, access, or test data this case needs.
🔑 Use an account with permission to create a workspace. Have a unique workspace name ready. Run against Staging using the shared sign-in preparation below.
Describe what a successful test looks like.
✅ The workspace is created with the chosen name, the owner has access, and the invitation action is available. Refreshing keeps the workspace in the owner’s workspace switcher.
Describe the scenario, record preconditions, and make the overall expected outcome explicit. Use rich text to make the important parts easy to scan.
Separate action steps from verification steps. Put an expected result beside the check, with list and table views for different procedures.
Maintain repeated flows as shared step blocks. Insert them into cases, see how many cases use them, and avoid maintaining the same setup line by line.
Return to a case’s run history to review previous outcomes, defects, and measured time. Use that evidence to improve the next version of the test.
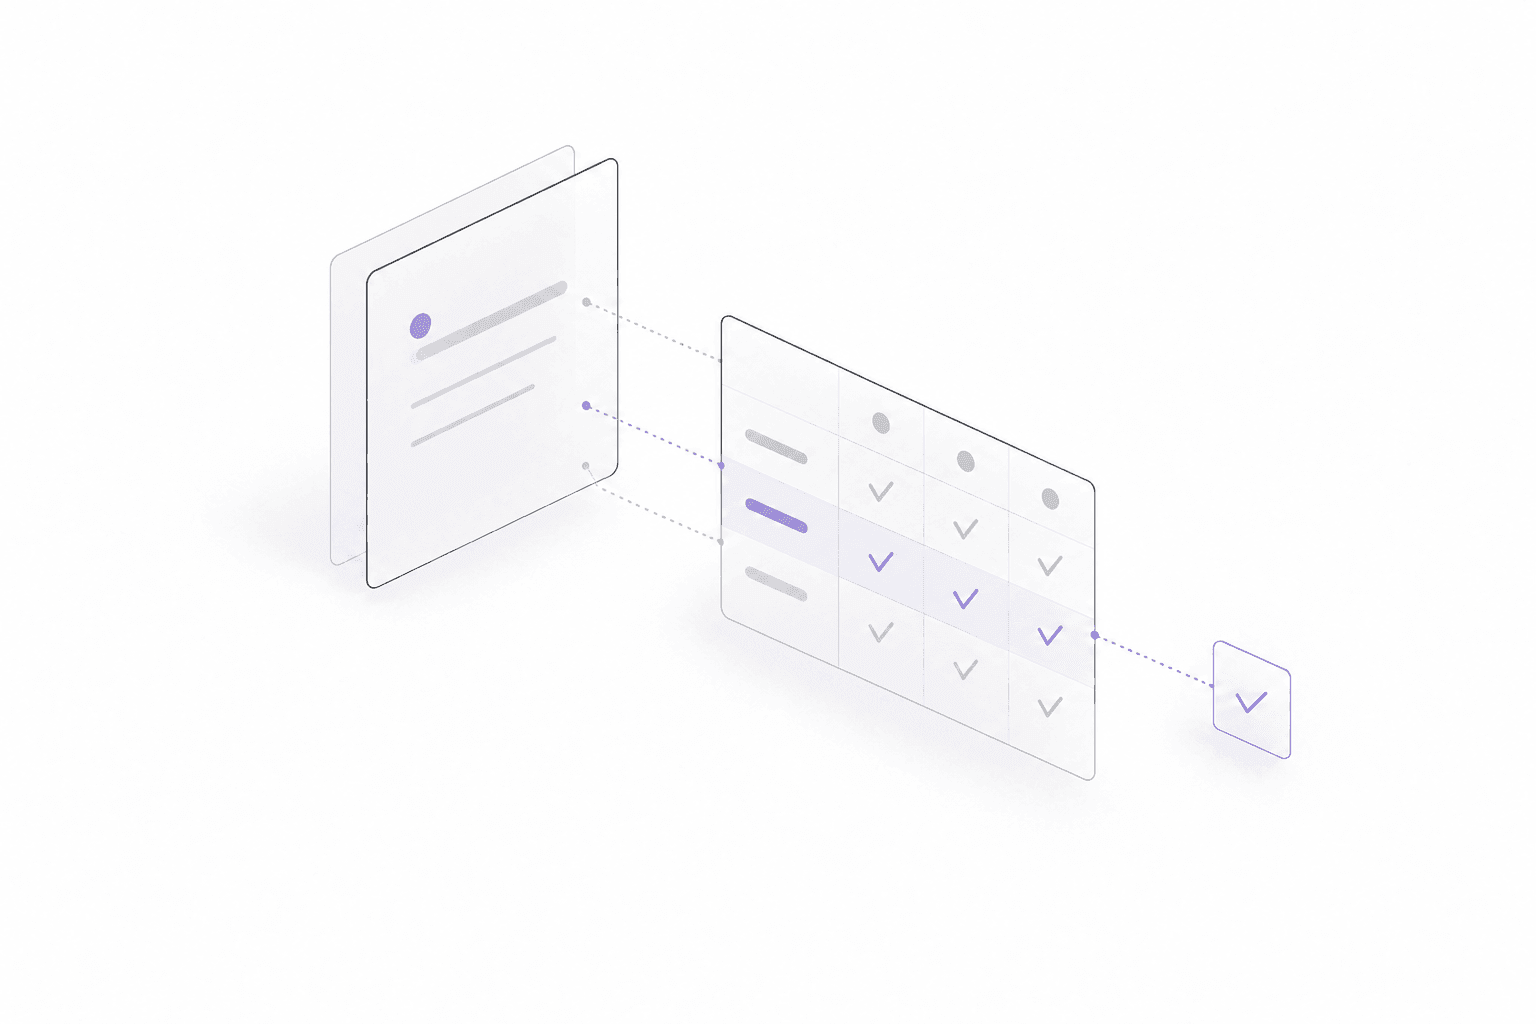
Generate suggested test cases from a Planner issue with leera AI. Review the procedures, select the useful cases, and save them to the project library with the issue link attached.
Explore leera AIAI generation requires a configured provider. Your team reviews what becomes coverage.
Turn the library into a deliberate scope. Bring the right cases into a reusable plan, see the estimated effort, and carry that coverage into a run.
Organized across 3 modules. Ready to run together.
Name the plan and describe what it covers. Use it for release checks, a focused feature pass, or a recurring regression routine.
Search the case picker and filter by module, tag, or priority. Add individual cases or the matching set, then review the selected coverage together.
Review selected cases by module, remove work that does not belong, and keep the plan’s ordering clear. Counts show the scope as it changes.
See the estimated execution time for selected cases. A case estimate takes precedence over its measured average, and missing estimates remain visible.
Choose the environment and default tester when starting a run. The run captures the plan’s selected cases so the team can execute a known scope.
Keep an active plan for future runs. Update the next scope as coverage evolves, or archive a plan when it has served its purpose.
Choose the relevant test cases.
Set the environment and tester.
Follow the steps and record evidence.
Make the outcome visible to the team.
Move through a focused execution workspace. Mark the steps, record the outcome, and leave enough context for the next person to understand exactly what happened.
A new team can create a workspace and start planning.
A workspace owner account is available for this test.
Open the sign-in page.
Sign in with a workspace owner account.
Open workspace setup.
Enter the workspace name.
Confirm the workspace is created.
The workspace opens and shows the name you entered.
The new workspace opens with its name, owner, and a clear place to start.
Keep the case navigator beside a readable procedure. Filter the work, choose a case, and advance to the next pending check within the current scope.
Mark individual steps as passed, failed, or blocked. Record the case as Pass, Fail, Block, or Skip, with guidance before an incomplete procedure can be passed.
Paste a screenshot, drop a file, or choose an attachment. Keep notes and evidence with the execution instead of reconstructing them after a failure.
Use Fail + defect when the result needs a fix. Keep the defect connected to its execution so developers can return to the procedure and evidence.
Track active execution time and pause when needed. Compare measured time with the original estimate and see the remaining estimated work.
Open the run report for pass rate, every outcome count, tag breakdowns, and timing. Pending, blocked, and skipped coverage stay visible beside successful checks.
Later changes to a case do not rewrite what the tester saw. Eligible open plan or sprint runs can add newly included cases while preserving existing items.
Finish a run when the review is complete. Any remaining pending cases become skipped, so the report reflects what was actually covered.
A result is more useful when the setup is clear. Keep environments and test account details in the QA workspace, ready for the people doing the checks.
A clear destination for every test run. Keep your team aligned on where to test.
Test environment
stagingThe release candidate for workspace setup, invitations, and project workflows.
Test environment
previewReview the next iteration of the welcome checklist before it reaches staging.
Give an environment a clear name, key, base URL, and description. Choose the right context before a run starts.
Store a credential label, role, username, sign-in URL, and setup notes. The list shows the account’s purpose without displaying its secret.
Open the dedicated reveal flow when the test requires a stored credential. The secret is requested separately from the account metadata.
Search active or archived resources. Archive environments and accounts that are no longer in use while earlier run context remains available.
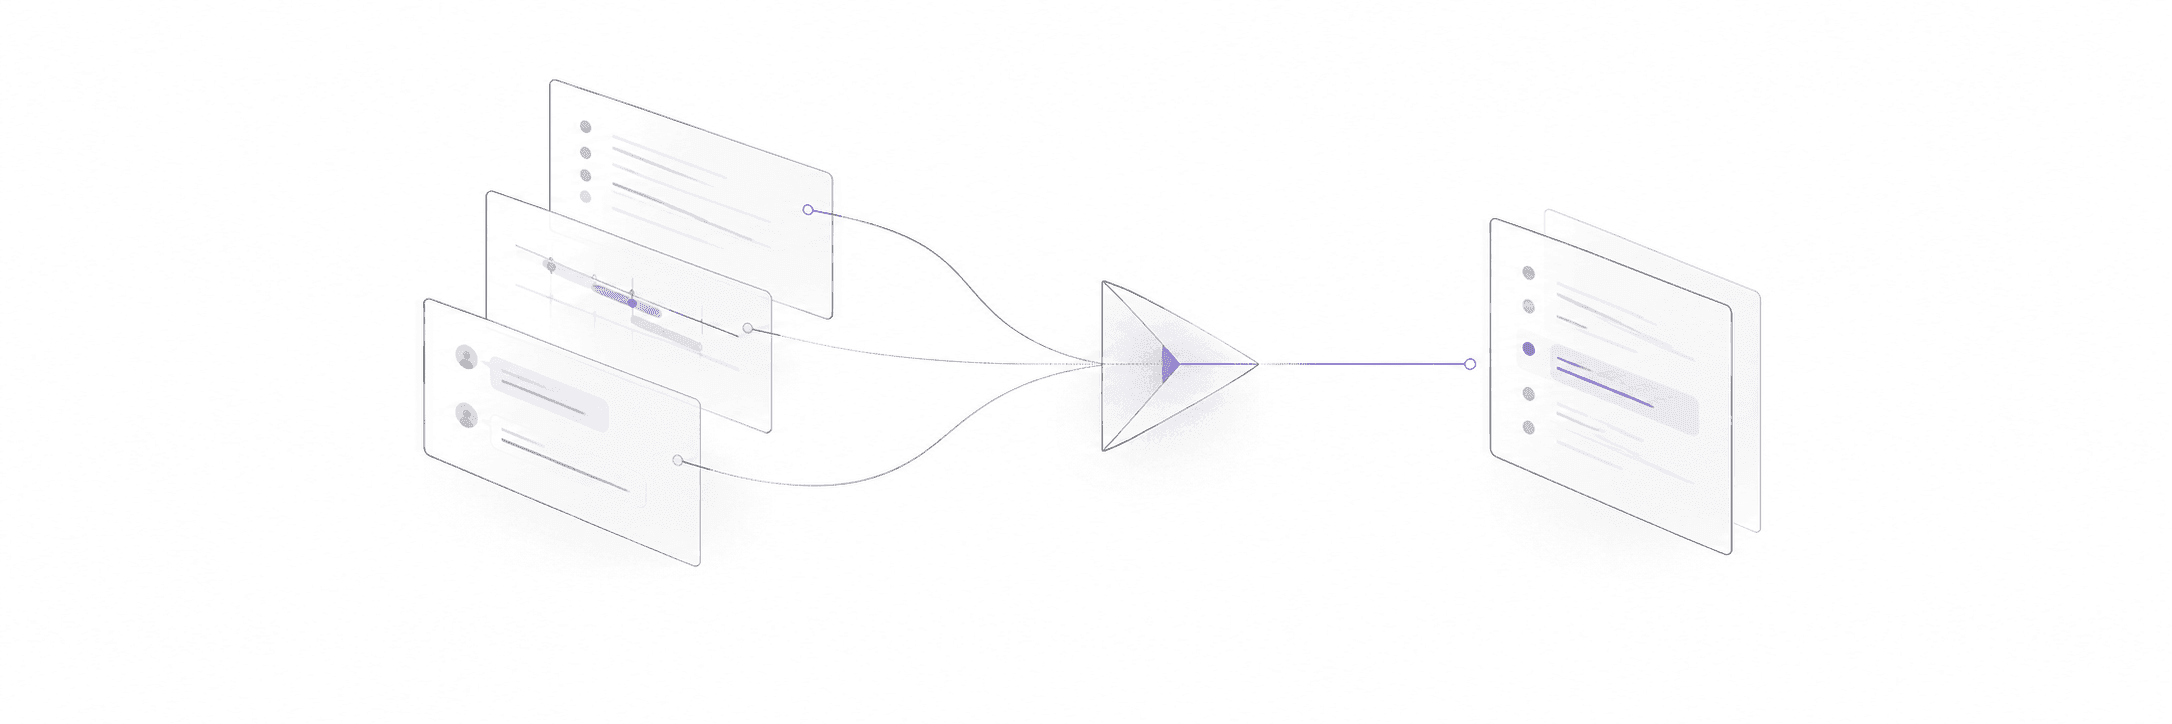
The environment, the case snapshot, the notes, and the defect all help explain a result. Keep them close, and the next conversation can start with the evidence.
Quality work is also the saved procedure, the pause in a timer, and the screenshot that explains a failure. Here are the controls around the core workflow.
Leera organizes cases, plans, execution records, and results. Connect your automation through supported APIs or MCP tools; browser and CI test execution continue to run in your chosen testing tools.
The practical details
The QA module manages cases, plans, runs, and results. Automated test execution still belongs to your testing tools or CI environment. Where you connect automation through APIs or MCP, verify the supported result tools and access before relying on the integration.
Yes. Shared steps let you maintain repeated sequences separately from individual cases. Use them for setup such as signing in or creating a test account, and keep each case’s unique expected behavior explicit.
A plan is a reusable selection of test cases that defines the intended coverage. A run is an execution of a selected scope, with its own case snapshots, environment, testers, step verdicts, notes, evidence, and results. A plan can be used for more than one run.
The run retains the case definition it captured at the start, including its title, description, preconditions, expanded steps, expected result, priority, and estimate. Later library edits do not rewrite existing run items. Eligible open runs from a plan or sprint can add newly included cases after review.
Completing a run marks any remaining pending cases as skipped. The report keeps passed, failed, blocked, and skipped outcomes distinct, so unfinished coverage is not counted as a successful check.
You can link existing cases or create cases from an issue. Cases are saved in the project test library and remain connected to the issues they cover. The library’s sprint and epic filters use those issue relationships. During execution, Fail + defect brings a failed check into Planner with a linked defect.
Yes. A case can have an execution estimate, with its measured average used as a fallback when no estimate is set. Plans and runs aggregate the available estimates. The execution timer records active testing time, supports pauses, and makes measured time available in run reports and case history.
With a configured AI provider, you can generate suggested test cases from a Planner issue, review the procedures, select the cases to keep, and save them to the project library with their issue link. Generation assists the review; it does not execute the tests or decide release readiness.
QA has dedicated environment and credential views. Environments store a name, key, base URL, and description, and the selected environment name is captured in the run. Credential metadata includes the account label, role, username, sign-in URL, and notes. Secrets are masked in the list and requested through a separate reveal flow.
Bring the cases, the checks, and the whole team into one connected workspace.